Pointwise
网格导出流程
- [ ] Select Solver : OpenFOAM 3D
- [x] Set BC types : make sure “all boundaries” are set or you may encounter
--> FOAM FATAL ERROR: Continuity error cannot be removed by adjusting the outflow. Please check the velocity boundary conditions and/or run potentialFoam to initialise the outflow. - [x] Select blocks
- [ ] Export CAE to some “$CASE/constant/polyMesh”
- [x] Rescale to meter : transformPoints -scale ’(0.001 0.001 0.001)’
- [ ] checkMesh [注:这里的skewness感觉是有量纲的(1/L^3),从mm变到m之后,skewness从O(1e-9)变到O(1)]
- [ ] serial run to check
配置OpenFOAM周期条件
语境
Pointwise里面网格为domain,OpenFOAM里面网格为patch
曾经天真的以为按照pointwise里面BC设定时选用cyclic,在网格文件生成完成后在constant/polyMesh/boundary里加上neighbourPatch就好,至少我在18.2R1这个版本不行。按照Maddalenna的提示。行得通的流程如下:
pointwise中要生成完全一样的domain,复制平移都不够(不够是指精度,重要的是点对点的对应关系),要达到这样的标准:create + periodic 这样生成的domain就是原先的twin,在domain list里面也可以看到domain之间的对应关系。这里就有了
neighbourPatch的基础,没有这一步,极有可能会遇到face 1 area does not match neighbour *** by ***% -- possible face ordering problem.按照pointwise基本流程导出网格文件,但在设置BC的时候设置成
patch而不是cyclic设置
createPatchDict来完成patch到cyclic的转换. 默认createPatch 将生成新的网格文件,-overwrite可以改写原先网格文件,副产物还有一系列*.obj文件. 正确的Dict配置如下:
1 | // File system/createPatchDict |
这里需要解释一下:新面1,2是由旧1,2生成,生成的条件有“类型,matchTolerance,neighbourPatch”,当新2还没有生成的时候怎么将新1与新2对应呢?当然,这里如果把第一个大括号当成了新1 patch的constructor,它将找不到新2的定义。不过回想一下,其实旧12和新12都互为twin的关系,互相依赖,这样写并无道理,只是…程序具体怎么实现的就不知道了.
注1:为了保证无误,新旧1和新旧2的名字没有取一样;想改成新旧一样?走完这个流程,最后把constant/polyMesh/boundary里面改过来就好
注2:createPatch在这里是由原先pointwise的twin domains/patches由类型patch变成了类型cyclic,据utility的功能介绍还可以将patches变成一个patch,或者将faceSet变一个patch
OpenFOAM
Simulation 完整流程
- 环境变量
a) purge modules
b) set Foam environment : aliasof301_intel - 网格
a)transformPoints -scale '(0.001 0.001 0.001)'
b)checkMesh[need a time dir (empty dir is OK)]
c) 推荐使用格式上mesh变成binary,无论计算时的读写还是paraview读入都会更快 :foamFormatConvert -constant/-noZero[OF-2.3.1和OF-3.0.1在binary上不兼容,得通过ascii转换] - if needed, compile new Boundary Condition (which is a
"*.so") for this simulation - 初始条件+边界条件
a) IC (mapFields/topoSet)[OF-2.3.1 的 mapFields 就是个bug,推荐OF-4.x]
b) BC (changeDictionary) [推荐此处IC,BC均用ascii,便于查错和纠正] system/controlDict:
a) checkstartTime对不对, 保证startTime和endTime不相同 [如果相同OpenFOAM不会报错,log的末尾仍旧是”Finalising parallel run”]
b) 如果有自己编译的模块,加入libs ("*.so");- serial run check
- if 5 is correct, prepare for parallel run :
a)decomposeParDict指定MPI并行进程数
b) 清除startTime目录里面’uniform’
c)decomposePar -time 'startTime': double check流场是否正确地被decompose. 首先写入硬盘的是constant/polyMesh的划分,后field transfer是流场的划分
d) BC : double check 一下BC有没有被正确写入processor*[value可能被改写,但原则上member一定要都在,在BC编写时write(Ostream&)写对了就没有问题]
e) if any warning : 要警惕,问题应当就出在当前步 - 如果测试节点足够,可考虑interactive parallel test;如不够,配置slurm file:
a)#SBATCH --job-name:sqeue只能显示前8个字符
b) 队列, 节点数#SBATCH --nodes,每个节点task数#SBATCH --ntasks-per-node,总task数需要在srun或者mpirun那一行用到(可以小于节点数*单个节点task数)
c) 预估计算长#SBATCH --time
d) 允许含有 bash variable
e) 默认定向输出:标准输出#SBATCH --output;error输出#SBATCH --error
f) [仅occigen] slurm执行任务时的计算环境初始化配置 : 为避免module相关输出到error(竟然module purge也会输出到error我也是醉了,而我python monitor目前只扫描error文件里面有没有输出,认为没有输出才是正常运行状态),这里slurm file 就不再加入任何的环境配置,通过第一个步骤即步骤0里面实现slurm任务提交时正确的环境配置[登陆之后第一个load的module为默认slurm提交环境,如果想换个环境,得logout然后重新登陆]
g) 注意--exclusive是否必要
h) 注意--mem是否足够
i) 主要任务执行行:即srun或mpirun那一行. 注意切忌行末加&幻想后台运行[例如后面一行还有其他executable的情况,如果当下行能后台运行,其后的command会被继续执行也许会有便利…但这样做的结果是&之后就没有然后了,而且还可能error message都没有,得不偿失]
j) 还在主要任务执行行 : 通常将标准输出改到> logFile: 注意最好把所有的log都留下,也就是每一个任务换一个文件名 [改到:因为前面谈到#SBATCH --output,用这个选项会由slurm在机群上的任务提交顺序来命名,可读性不强,通常改写] - [optional] submit job chain via python :
a) [仅occigen] 因为$SCRATCH文件数目限制 : check-list python laundary
b) check-list python auto submit - paraview : 有条件的话(因为通常processor文件数目很多)优先读decomposed case (因为internalField没有影响,但经测试reconstruct可能
boundaryField的value会被篡改)
注:IC 指初始条件;BC 指边界条件
preProcessing
mapFields
此为大坑,尤其是OF-2.x的版本,存在一些bug(不是fatal,但会让mapFields运行得无比慢,比fatal还可恶。按照帖子改了还是不行),但用同样的mapFieldsDict试一试OpenFOAM/4.0-foss-2016b或者OpenFOAM-5.x不仅速度快而且不会有莫名其妙的报错
1 |
|
- 回避
a)$source里empty的BC(有试过,会有报错)
b) 如果$source里面constant/polyMesh/boundary里面有mappedPatch,且如果$target里面没有相应的BC配置,可能会在mapFields最后写入数据的时候报错后果是例如U文件的写入遇到错误而被跳过].在$source有mappedPatch的情况下,$target里面constant/polyMesh/boundary也得改成相应BC - 如果不是consistent,目标case里面要编辑好文件
mapFieldsDict - 确认
$source里面startTime,它会是mapFields完成后的时间目录,输出格式改为ascii - 检查在
controlDict里面libs (...)是否在当下环境中配置 mapFields(等待时间可能很长)- 手动检查
mapFields是否无误地完成:检查目标case里面是否有-nan - 把映射后的场的BC由
calculated改成相应的物理BC,这样才可以续算,这个步骤可以通过changeDictionary来完成 - 串行试运行
1 | # 一个长度为5D的圆管映射到一个长度为10D的圆管,inlet*完全对应 |
旋转data然后mapFields
想要rotate data,transformPoints声称可以rotate polyMesh里面的points(也就是网格),也可以rotate vector field.试过了,确实可以,paraview上就看出来转了90度,但是将rotate过后的再mapFields就不成功了,经过反复测试始终还是rotate之前的data被map过去了的感觉
postProcessing
管理postProcessing
rsync.py将远程的postProcessing同步到本地目录,并通过json将相关数据存入一个文本文件database.txt:
sourceDir:远程目录targetDir:本地目录name2plot:画图的时候用到的legend
还有alias,即一个对case简单描述的string
画图的时候,在配置文件parameters_*.py里面有:读database.txt,通过alias来索引database[alias]['targetDir']和database[alias]['name2plot']
一旦按照以上操作“1.获取数据”并“2.抓取数据画图”,只需要确认有一致的alias就可以确认“画的数据是自己想要的”,具体的数据信息也可以通过database.txt来最终索引,只要这个索引不出错,就不会错
uv : reynoldsStress
1 | # toolchain for uv_mean @12 |
userProbeByLabel_noMean
or userProbeByLabelVector_noMean its version for vectors. $sliceStore is where you put your slice+number file (class labelList). userProbeByLabel_noMean don’t work on slices but on labelGroup which is itself a labelList containing all cell id of probes of interest (its defaut location is $sliceStore.
- check-list
userFindClosestInLabelList userProbeByLabel_noMeanT $sliceStore -time ‘0:xxxx’
userFindClosestInLabelList
前提是在input argument里面sliceStore处已经有sliceNumberList和refVectors,这个程序找的是遍历在sliceNumberList里面所有的slices找到离refVectors(注:这里仅有一个vector,但仍旧用vectors,为得是日后可以拓展)最近的cell,并将每个slice上面最近的cellID记下来写入到一个文件labelGroup.这个程序应当在一个OpenFOAM case中执行,其实就是提取网格信息,因此对于相同网格下的算例仅仅需要运行一次,于是就有了最后一个步骤将labelGroup移动到对应同一个网格的公共的目录下共享,详细check-list如下:
- 为了最终写出的labelList人类可读:
system/controlDiktchange format to ascii - userFindClosestInLabelList xx xx
- cd constant
- mv file to a shared place (for all cases with the same mesh structure)
reconstructPar
在reconstructPar -fields '(U p)'之后,reconstructPar -fields '(phi)'会将phi添加到对应的时间目录里面.
sample
基本流程
1 |
|
- 编辑
sampleDict:可能需要用python脚本来写入一系列sets的描述,例如160条线就不能全部手写
a) 检查fields,如果写得不对,OpenFOAM并不会报错
b) 检查是否有header(没有header会有报错),object填sampleDict
c) sets或者surfaces的输出文件名都可以个性化编辑 - 重命名
sampleDict,是sets放目录$sampleDict/sets,是surfaces放目录$sampleDict/surfaces - sample
注:检查不出sample是否有结果?rm -rf postProcessing ; sample 这样会比较明确
用python写sampleDict
1 | # file writeSampleDict_2Diagonals.py |
configure python script for sampleDict : dictName, fieldName, interpolationScheme… Sampled data will be named as `postProcessing/sets/time/dictName-n_fieldName. “dictName” may also includes information like “interpolationScheme”.
run python script
add header to sampleDict
run sample utility
verify generated files in
postProcessingbegin plotting using python
edit plot parameters : a spatial statistic will require “time”, “number of samples” etc. This file is the footprint of the statistics.
configure plot script : ajust “dataShape” or likewise. In other word, not all data are eligable because not all data are of the same shape. We can interpolate but I d rather not.
run plot script
ajust plot and save fig to
figurewrite plot data (x,y) to txt file in foler
datafor reporducing use or later ajustement
python
laundary
为了防止occigen $SCRATCH关于文件数量的quota溢出,用python在后台nohup长时间地监控,对userDefinedLog里面removedTimes与dataWritingHistory的补集的时间步做reconstructPar和rm -rf processor*/timeStep
- 拷贝
laundary.py和reconstruct_occigen-OF301.sh - 保证
userDefinedLog/removedTimes存在 - 设置python脚本的时间参数(预估simu时长,留出laundary余量)和processor个数的参数
- 检查上一个laundary是否结束:
ls -l log.clean_*看时间 - 判断
reconstructPar的进程:ls processor0 | xargs ls -l > log.ls;如果有的目录没有顺利reconstructPar会有内容(非std output)输出到终端,至于目录对应上了但场是否完全(比如U p nu phi) reconstructPar 只能看log.ls
a) reconstructPar有很多时间步积压,手动完成laundary,然后进行b)
b) reconstructPar运行顺利,没有太多时间步积压在processor*里,那么准备续算:rm userDefinedLog/dataWritingHistory并清空userDefinedLog/removedTimes里面的内容 nohup python laundary.py OF301 > log.clean_*- 记录是在哪个登陆节点,需在对应的节点用
ps -eaf | grep $USER才能找到nohup的任务
cluster
occigen
算例提交
- openfoam env : 一句话如果用python来做slurm多个连续任务提交,必须在提交前做好这一步(即check-list第
0步),具体来说如果忘记了提交slurm会在第一个job报错,然后你发现slurm找不到mpirun,这时候补上环境变量再重新提交,新的提交第一个job能通过,但第二个job仍然会报错找不到 mpirun;似乎slurm的默认环境是你登陆某login节点后第一次提交任务的环境,也就是说:login之后得首先做这个事情再提交任何算例(虽然直接使用sbatch **倒是不影响,但对通过python来提交的job chain会被迫终断) - nohup python submit.py > log.submit : 提交job,通过
squeue的返回值离散地监控job状态,通过返回值来检验一个算例完成后(这里还有个bug)修改system/controlDict里面startTime和endTime用于自动提交下一个算例(限制:simuLog不停地被改写,应该把每个job的log都留下来才好);log.submit取好名字以方便查看 - nohup python watchDog.py > log.watchDog : 设置一个运行最大时长,在这个时间内用
reconstructPar来保留计算输出数据,删除processor*里面已经reconstructPar完成地时间步大幅度削减文件个数,保证不超过scratch的限额;log取好名字以方便查看
G3. 笔记本上面记录下来是哪个login,什么算例,连续提交多少个job,每个job预计计算的物理的间隔是多少(用于更新startTime和endTime):因为ps -eaf | grep $USER只能找出相应登陆节点上面的job - 检查
log.submit,查看jobs的情况
数据同步
千万千万要注意para0,在dir里面并没有用到,一定要double check !!!!1
2
3
4
5
6
7
8
para0=inlet_0p3
para1=a_0p08
para2=setT_St_1
log=sync_log.$para1
dir=/store/lmfa/fct/hluo/occigen/caseByGeometry/T/shape_square/2a_3_T/BirdCarreau/inlet_0p3/$para1rsync -av occigen:/scratch/cnt0028/mfa0464/hluo/caseByGeometry/T/shape_square/2a_3_T/BirdCarreau/$para0/$para1/$para2/* DATA --exclude processor* &&
echo "DATA sync BirdCarreau : $para0 $para1 $para2 ended with success" >> $dir/$log
newton
- No
#SBATCH --exclusive(if not necessary) - Naming of the file with exactly 8 chars with
-2indicates for example 2nd run. Ex :p10D_gP5-2 - consider remove
#SBATCH --mem-per-cpu=4000because there are nodes which bigger memory available
error
error while loading shared libraries: libpsm_infinipath.so.1: cannot open shared object file: No such file or directory: check#SBATCH --mem, this is an error saying you are maybe asking for more memory than the machine can offerslurmstepd: error: Detected 1 oom-kill event(s) in step...: check#SBATCH –mem`, this is an errory saying that the memory you are asking for is not enough for the program
old note
1 |
|
- run
mapFieldsneed a big memory. There’s now a template for big-memory job. Especially, don’t put&at the end of commands ormapFieldswill only last for 2s and there’s no error message returned so could be confusing.
1 |
|
Here maybe a reason that zaurak well perform likely 2 times better than cpus on newton when the constraint on memory is not there.
1 | hluo@zaurak $ cat /proc/cpuinfo | grep model |
Inkscape
导出
- [ ] draw sketch
- [x] Edit-> Resize page to selection
- [ ] Export PNG image -> Export as -> Export
在最后一步如果遇到”the chosen area to be exported is invalid”,可以在Export PNG Image标签页里面四个标签Page,Drawing,Selection,Custom(默认是最后一个),选成比如说Drawing再点Export.
clip
- import image
- F4 (select “rectangular tool”) draw a rectangular (marked by red)
- F1 (select “select tool”), ctrl+A select all
- Object -> clip -> set
gimp
这个软件可以得到图片里面的坐标
paraview
显示几何外形
如果想要显示一下外形,但又不想要网格视角:
Clean to grid -> Extract surface -> change opacity
scripting
load state
load state也可以被载入到script里面(no legend)
I. 用paraview生成*.psvm
paraview-> start trace -> open *.foam -> …- saveFig (very possible I will do this. otherwise its nonsense.)
- save state
- stop trace
II. 拿出上一步得到的script,把关键行(例如)1
2
3
4LoadState('/store/T_c/1j/D2-NN-1j_test_from0p3_forcingSinus_St3p2_A_eq_0p05/hluo15_T_c_vorticity_z_300.pvsm', LoadStateDataFileOptions='Use File Names From State',
DataDirectory='/store/T_c/1j/D2-NN-1j_test_from0p3_forcingSinus_St3p2_A_eq_0p05',
OnlyUseFilesInDataDirectory=0,
D2NN1k_syn_forcingfoamFileName='/store/T_c/1j/D2-NN-1j_test_from0p3_forcingSinus_St3p2_A_eq_0p05/D2-NN-1k_syn_forcing.foam')
转换为1
2
3
4
5
6
7SaveScreenshot(dirName+'/'+'hluo15_T_c_vorticity_z_300.png', renderView1, ImageResolution=[2754, 1838],
FontScaling='Scale fonts proportionally',
OverrideColorPalette='',
StereoMode='No change',
TransparentBackground=0,
# PNG options
CompressionLevel='5')
尾巴上再加入1
2
3
4
5import os
print "Finalizing "+ os.path.basename(__file__) +" " + "@ dir : " + dirName
import datetime
print datetime.datetime.now().strftime("%Y-%m-%d %H:%M")
print "==============================="
III. 对不同目录(不同case)批量操作:
- 拷贝
*.psvm到相应目录(如果pvpython找不到*.psvm也会出图,白板) - 修改
*.psvm里面带有关键字.foam的行,对应当下目录 - 来到
run.sh,用绝对路径作为参数开始批量运行
出图程序里面修改变量的range
LUT.RGBPoints和PWF.Points里面上下界都得改,PWF.RescaleTransferFunction也要改,当然LUT.UseLogScale也要改:1
2
3
4
5
6
7
8
9
10
11
12
13
14
# get color transfer function/color map for 'k_mean_nonD'
# ...
k_mean_nonDLUT.RGBPoints = [1e-6, 0.231373, 0.298039, 0.752941, 0.00014459355054441403, 0.865003, 0.865003, 0.865003, 1, 0.705882, 0.0156863, 0.14902]

# get opacity transfer function/opacity map for 'k_mean_nonD'
# ...
k_mean_nonDPWF.Points = [1e-06, 0.0, 0.5, 0.0, 1, 1.0, 0.5, 0.0]

# Rescale transfer function
k_mean_nonDPWF.RescaleTransferFunction(1e-06, 1)

# Properties modified on k_mean_nonDLUT
k_mean_nonDLUT.UseLogScale = 0
纯粹读数据,摸索数据结构
似乎是默认读最后一个时间步,为免出错,每个case就一个时间步1
2
3
4
5
6
7
8
9
10
11
12
13
14
15
16
17
18
19
20
21
22
23
24
25
26
27
28
29
30
31
32
33
34
35
36
37
38#### import the simple module from the paraview
from paraview.simple import *
#### disable automatic camera reset on 'Show'
paraview.simple._DisableFirstRenderCameraReset()
# create a new 'OpenFOAMReader'
cavityfoam = OpenFOAMReader(FileName='/home/hluo/OpenFOAM/hluo-2.3.1/run/tutorials/incompressible/icoFoam/cavity_org/cavity.foam')
print type(cavityfoam)
print cavityfoam.CellArrays
print type(cavityfoam.CellArrays)
print "GetAvailable()"
print cavityfoam.CellArrays.GetAvailable()
print "GetData()"
print cavityfoam.CellArrays.GetData()
data=servermanager.Fetch(cavityfoam)
print type(data)
print "GetNumberOfBlocks() : " , data.GetNumberOfBlocks()
#print "getBlock() : " , data.GetBlock(1)
obj = data.GetBlock(0)
print obj.GetNumberOfCells()
cellData = obj.GetCellData()
N = obj.GetNumberOfCells()
#print cellData
obj_p = cellData.GetArray('p')
print type(obj_p)
print "obj_p.GetDataTypeValueMin() : ", obj_p.GetDataTypeValueMin() # 这里得出的最大最小有问题
print "obj_p.GetDataTypeValueMax() : ", obj_p.GetDataTypeValueMax()
print obj_p.GetValue(10)
print "GetRange() : ", obj_p.GetRange() # 这里貌似是正确的
for i in range(N):
obj_p.SetValue(i, obj_p.GetValue(i)/10)
print obj_p.GetValue(10)
export screen shot
export 有什么好说的?嗯……如果要对一系列算例做同样的图一般会选用load state来加载*.pvsm,似乎注意改一下*.foam对应的path就好,但是如果要让export screen shot输出同样像素的图的话,记得一定要全屏之后再export!!
do not skip time 0
- paraview data.foam
- uncheck all “Cell Array” ; remain defaut “Skip Zero Time” then apply : geometry will be visualized but no “Cell Array” (field data) is there. Make sense.
- uncheck “Skip Zero Time” -> apply : cell array will then appear ; select field of interest.
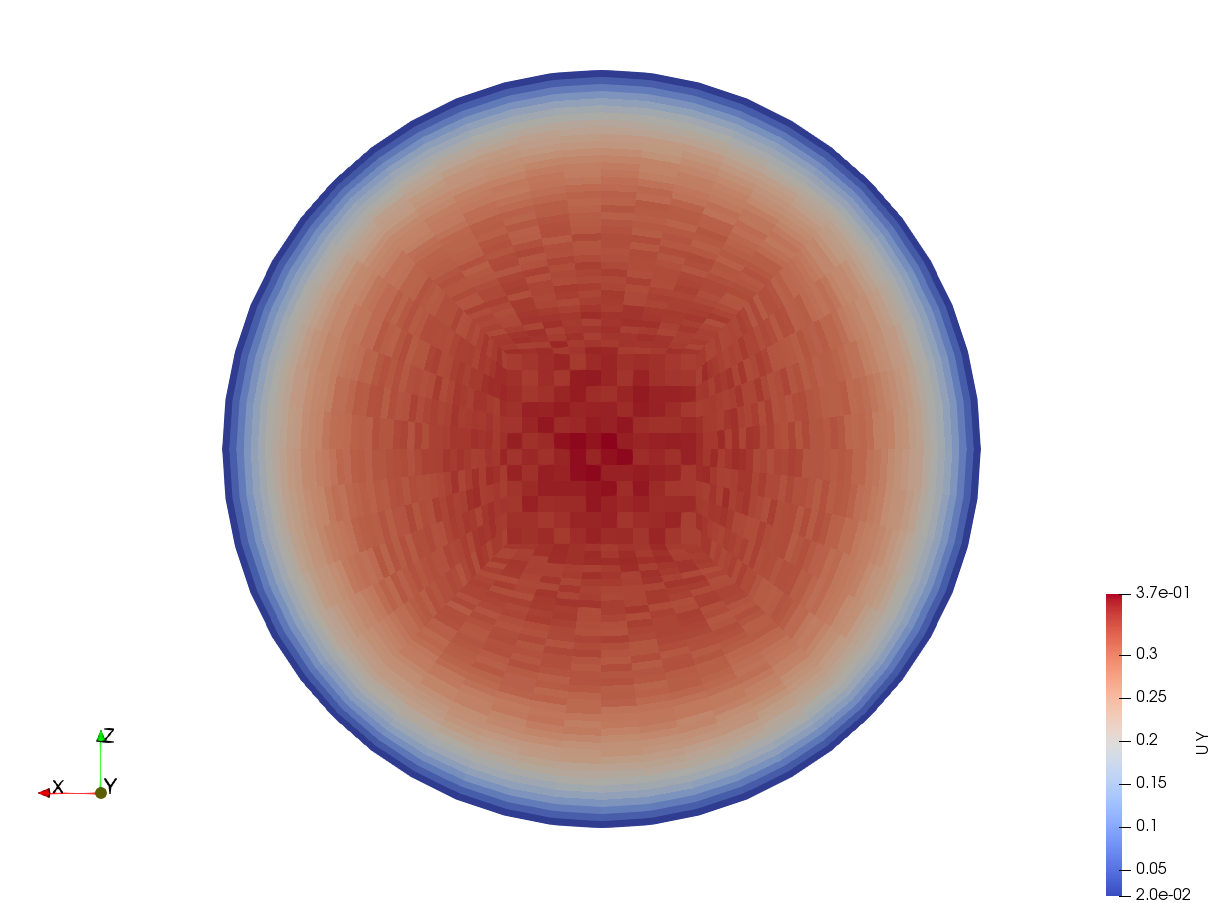
color map
- 如果是对成的数据
[-a,a],用红白蓝diverging挺好,能分辨出0对应白 - 如果是
[0,a],用黑白灰最好,但paraview好像默认可以从Edit Color Map选项卡中带桃心的小按钮Choose Preset里面有X-ray和GrayScale,选择后apply(默认就会变到RGB color Space);如果想要恢复diverging,最下面有个恢复默认按钮;如果想要自定义,参见RBG自定义
用load state来复现camera视角
target 目标视角:想要复制的视角,对应的case叫目标case
working 工作视角:想要在工作case下复现目标视角
- 目标视角的存储通过目标case(Visu)里
save state来实现(默认读取了一个绝对路径的但其实为空白的target.foam文件),得到target.pvsm - 复制目标case下的
target.pvsm到工作case(Visu)里,编辑查找关键字target.foam并替换成工作路径/working.foam - 工作路径下创建
working.foam - 工作路径下打开paraview
- load state 选择编辑后的
target.pvsm-> “Load State Data File Options” 选Use File Names From State - 等待复现
注意:
- 还涉及一个working case里面时间步是不是和state里面一致的事情,我的测试刚好target和working case有相对应的同一时刻的data
- 在paraview-5.4.1测试成功
根据x坐标截取一个cell slice的label
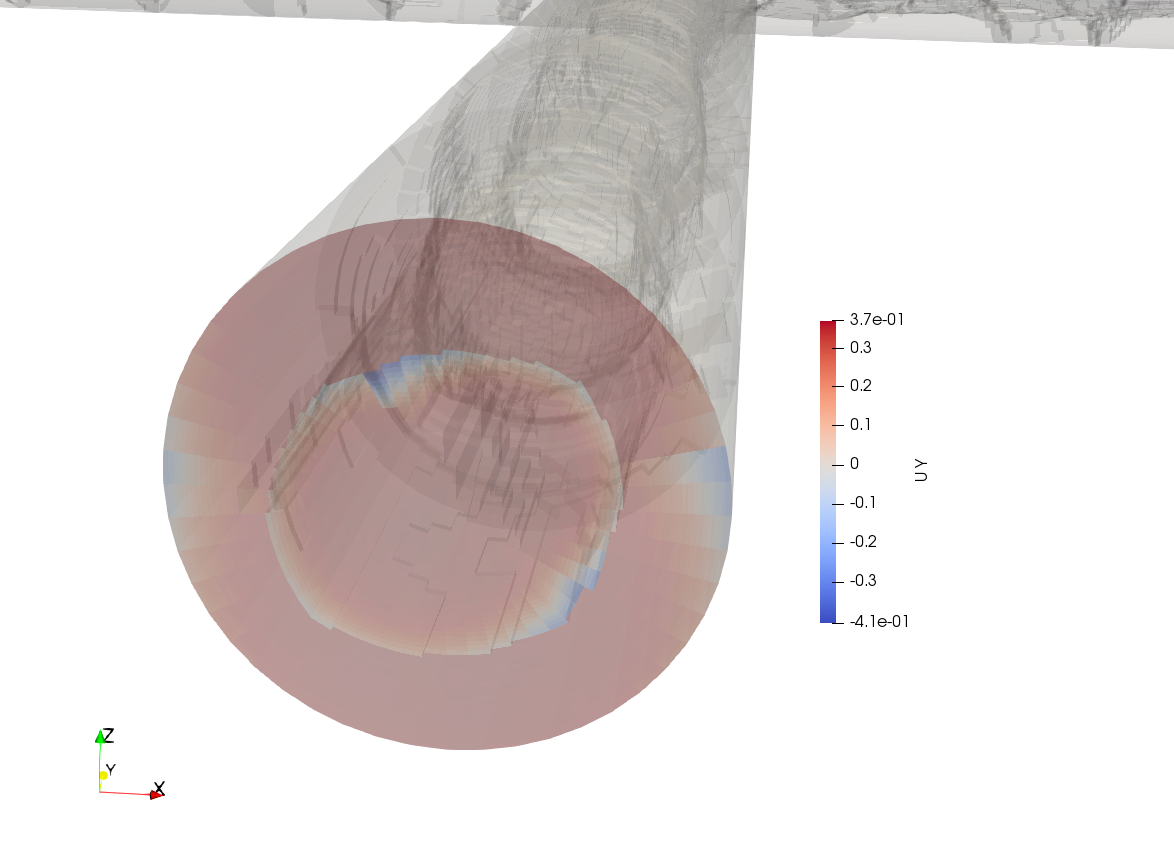
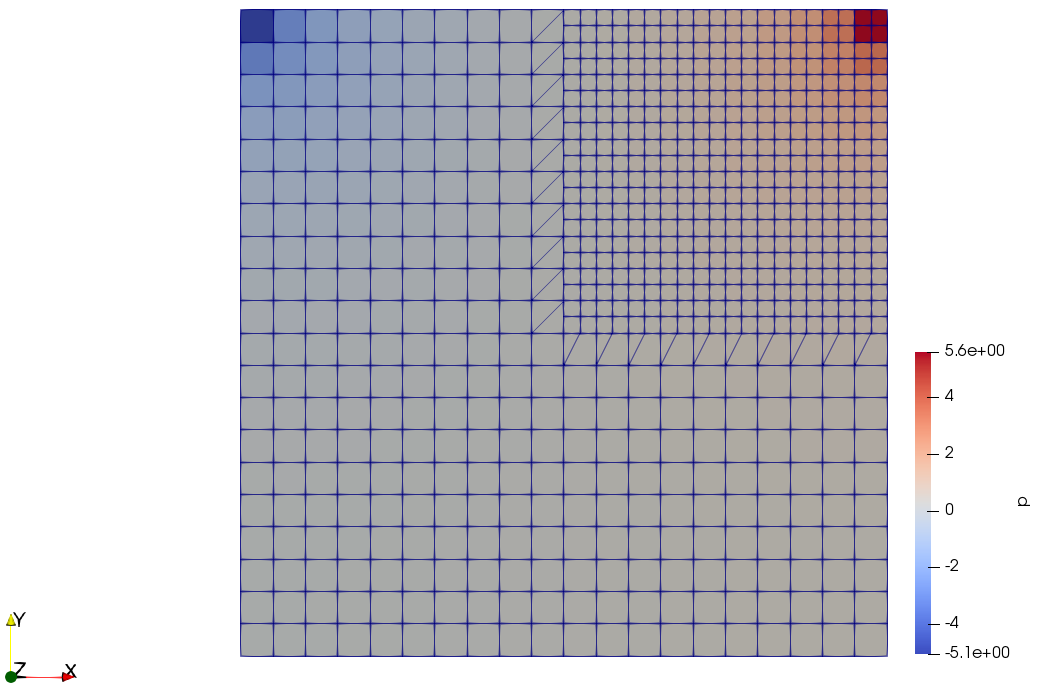
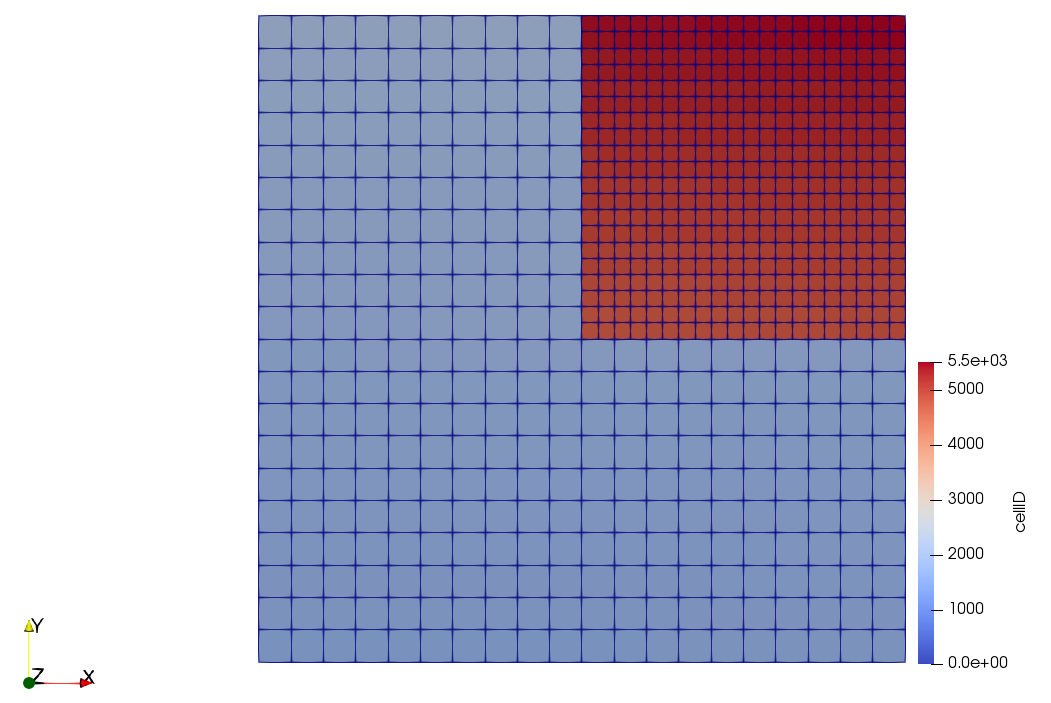
cell slice : 这里的网格是正交的六面体,所以严格意义上一个x坐标对应“一层网格”,通过在paraview里面find Data中选取xcoord between xx and xx就可以选定这一系列cell
label : 一系列的cell的label合起来就是个labelList,而且是全局的,因此可以取出U中例如U[labelList_slice0]子集进行操作
下为流程:
- paraview 可视化 case
- calculator : xcoord (defaut : point data)
- Filters -> Point data to cell data 这里我们只想对xcoord操作 但注意 这一步会将U(如果有的话)也插值一遍,值会跟先前有略微差别
- Edit -> fidn Data -> (cells) (Pointdatatocelldata) (criteria : xcoord between [xmin, xmax] -> run selection
- close “find Data” (selection is still effective)
- split horozontal (very smalll icon on the right above render view) -> spread sheet -> show only selected elements -> attribute : cells 注意一定要选
cells要不然得到的spread sheet行数不是cell number -> check 行数是否等于画网格时定下的个数 - Toggle cell visibility (eliminate other colons : left with only labelIDs) -> export spread sheet *.csv -> optional depending on paraview version (filter colons by visibility)
- modify *.csv : add OpenFOAM header (shown below), add
(and)for list - use OpenFOAM to read modified file via class
IOList<label>
1 | // example of OpenFOAM header for file named "slice16" |
scripting
Base
利用Tools->Start Trace选上all properties Fully Trace Supplemental Proxies Show incremental Trace
- Open -> some
*.foamfile (no need for the real file when running script afterwards, but necessary here for GUI use, to generate the script to run) - clip… slice…
- export as
- Tools -> End trace
pvpython script.py
Note
- 值得注意的是legend,利用以上python trace的结果不加改动的情况下,会默认变得巨大,所以得加上
- 加上auto-rescale是个必须得有的好习惯
- 以上1和2的改动放在
renderView1之前,经测试是有效的
1 | """ |
- customize range, logscale, use another color mapping
它们之间按照以下顺序排列是有效的
1 | # Rescale transfer function |
- 如果有多个不同位置的slice,那么一定要记得加上下面这一行(在save screenshot前就行)以保证图”有效部分”的大小不会改变
1 | # reset view to fit data |
possible bug
1 | raise ValueError("%s is not a valid value for attribute %s." % (value, name)) |
可能是最初没有读入后面要用到的数组,也有可能后面取slice什么的超出了计算域,感觉报的是个找不到目标数据的错
blender
一句话:通过paraivew做初期可视化,包括color map,导出后可通过blender调整camera和lamp. Paraview里面也有这个功能,但相对鸡肋.
blender version : 2.8 beta compatibility issue : glibc too old in CentOS
- paraview -> visu -> File -> save Data ->
*.ply(check coloring; check alpha : even if you dont have any transparency in paraview setting. This is important for blender/ or shall we say bug) - blencer -> File -> import ->
*.ply - (optional but often needed)
s0.01(导入的data通常会显得很大,需要缩小): scale by 0.01;s90x以x为轴旋转90度;blender里面朝上通常为z - Now we have a render vie for data. Care now for coloring. -> choose
blender renderorcycles render - Add -> input -> attribut (the color attribute) : (i) name = Col ; (ii) connect “color” to “base color” of BSDF
- 如果import的数据是contour,可能会有尖角出现,光滑一下:select mesh->object->shade smooth (need to be in object mode : normally by defaut)
- 接下来就是调整camera和lamp了,最终blender出图是camera的视角,lamp可选太阳光什么的
Note : Gratitude to Juan Ignacio Polanco
svn
branching
video reference createBranch,workWithBranches,resolvingConflicts,svn_resolve_tree_conflict_in_merge
1 | # Note a good pratice : make sure trunk is updated to the lastest version |
resolving conflict
!M : svn rm file --force (if it is rm * not by svn remove)
out of date : svn update; svn resolved fileName (one by one) ; svn commit -m 'fix out of date'
svn和git之间相互转换
一定要非常注意!
- 如果是我的thesis,先
make clean cp -r拷贝整个文件夹(最好不要是根目录,因为包含.svn或者.git)到目的地文件夹- 如果是根目录继续往下看
- 如果是svn拷贝到git,一定要删掉
.svn; 如果反之,一定记得删掉.git(.gitignore倒是无所谓啦) - 然后才开始进行其他操作
ubuntu in win10
Terminal默认不能输入中文,vim打开也会乱码,需如此配置:
- Terminal上端
right-click->properties->font,改为NSimSun : 这样在终端就可以敲出中文 - vim 打开含中文字符的文本,
:set encoding?如果不是utf-8`se:set encoding=utf-8`: 这样vim里面的中文字符就会正确解码 - 将以上设为默认
right-click->defaut;.vimrc